Apollo DesignScapes Installation
In this video we provide a step-by-step tutorial to show you how easy it is to install your Apollo DesignScapes.
Before you begin to install the Apollo DesignScape please make sure you take the proper care in selecting the right equipment such as a ladder to access the fluorescent light.
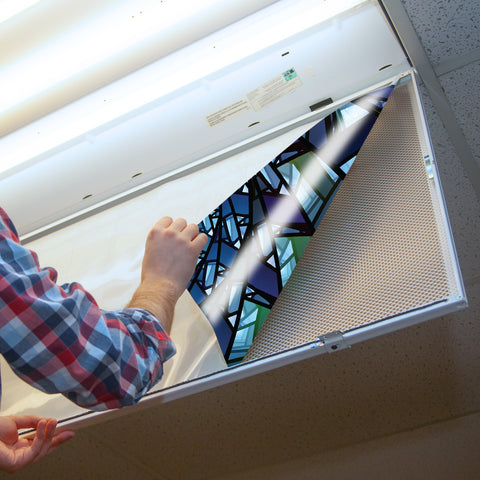
To install the DesignScape you will want to open the light cover and gain access to the fixture to place the fluorescent light cover insert. To do this there are usually two latches or tabs you engage to unlock the fluorescent light frame and the diffuser. You may need to use a screw driver in this step. Next gently lower the frame as it should be connected on the opposite side and swing downward.

The fluorescent light cover insert will arrive in it's protective tube or box. Simply remove the Apollo DesignScape decorative ceiling light cover from the packaging and place the DesignScape with the artwork side down (this artwork will be away from the light) on top of the plastic diffuser cover. There is no need to remove the diffuser cover.
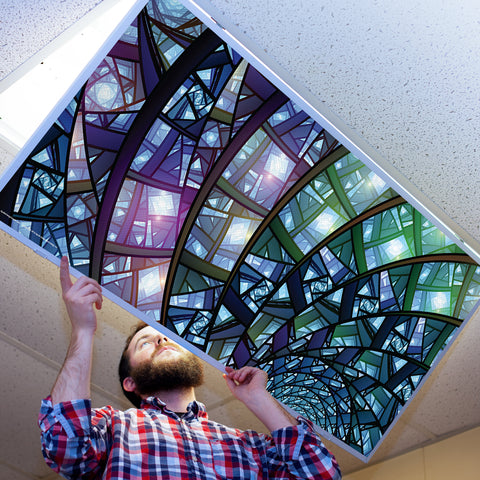
With the Apollo DesignScape fluorescent light cover insert in place you will gently raise the frame and lock back in the latches or tabs of the fluorescent light cover.
Click the button below to view a pictorial pdf of the installation instructions.
Shop By Category
-

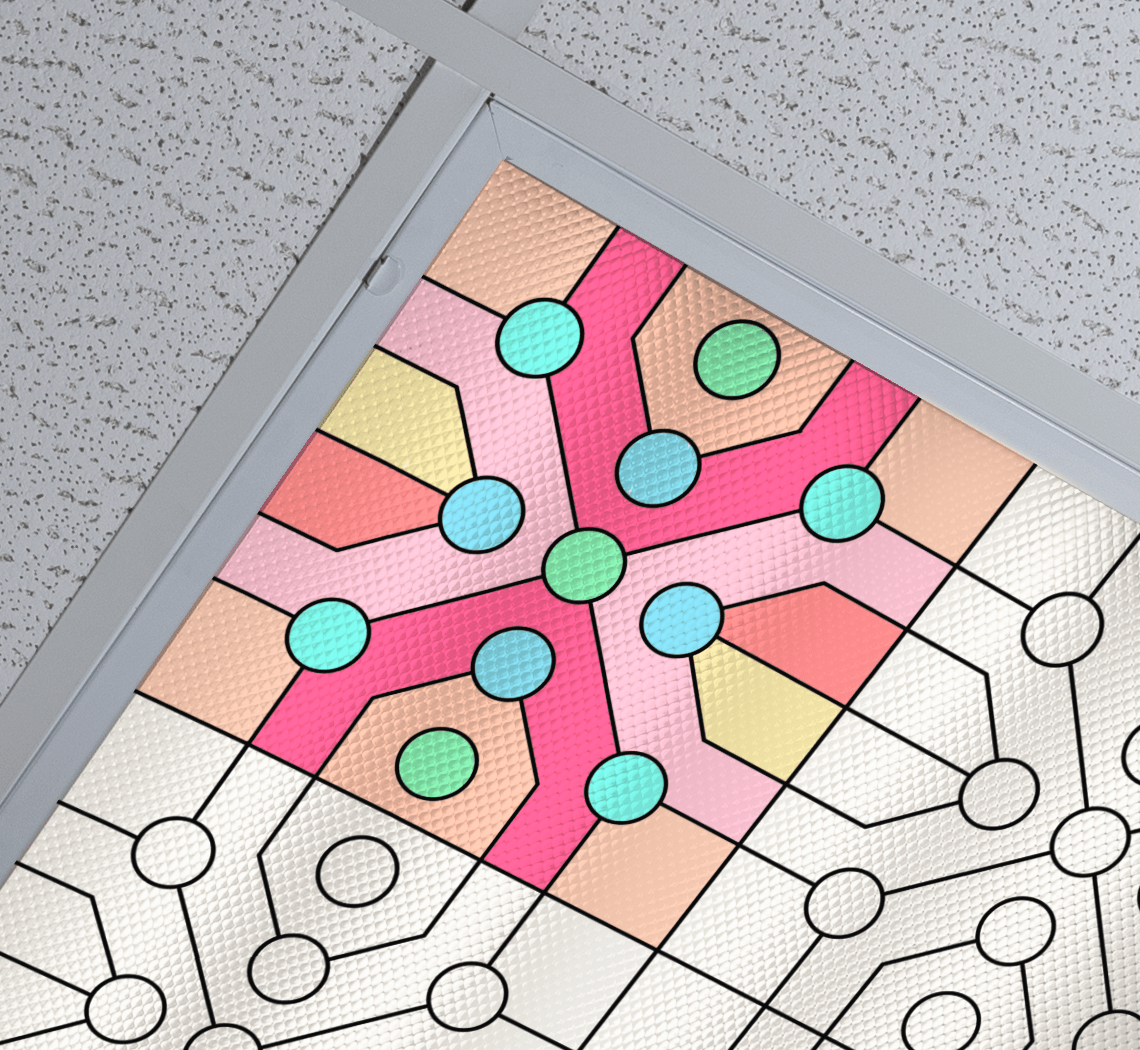
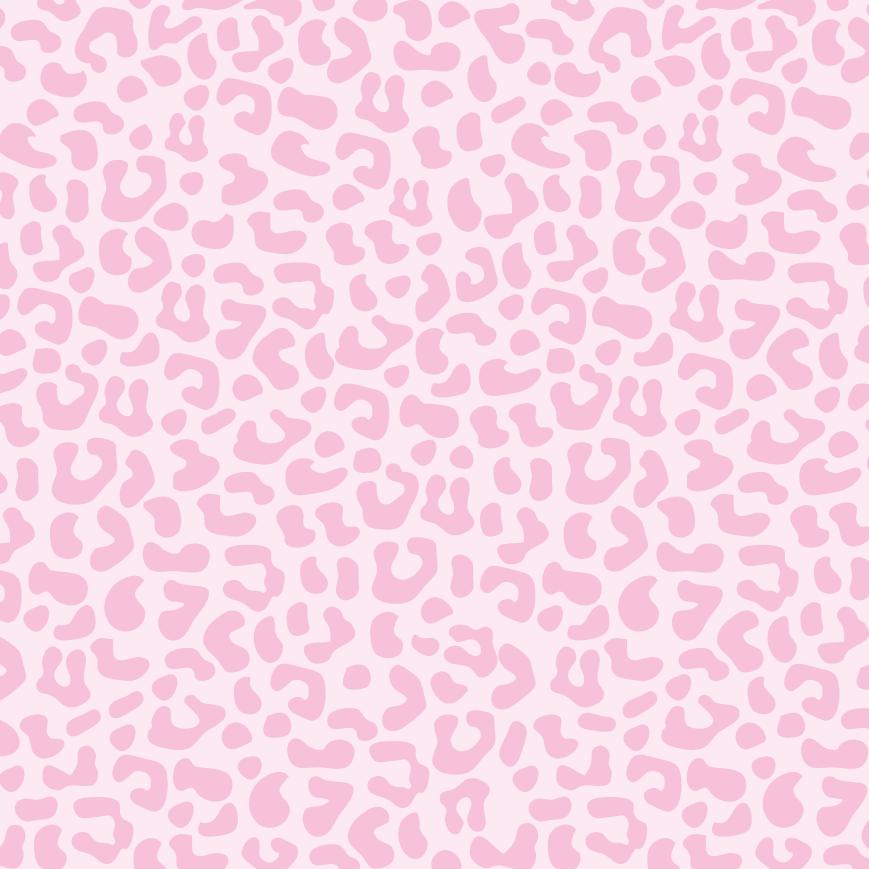
Abstract | DesignScapes®
The fluorescent light cover insert designs that you love but just can't...
-

Animals | DesignScapes®
Who isn't fascinated by animals? We've created a variety of DesignScapes® featuring your...
-
ColorMe | DesignScapes®
Browse hundreds of designs including our Color Me collection. Fast shipping, Great...
-
Diffusions| DesignScapes®
Check out our chic collection of printed diffusions to add subtle texture...
-

Christmas | DesignScapes®
Tis the season!
-
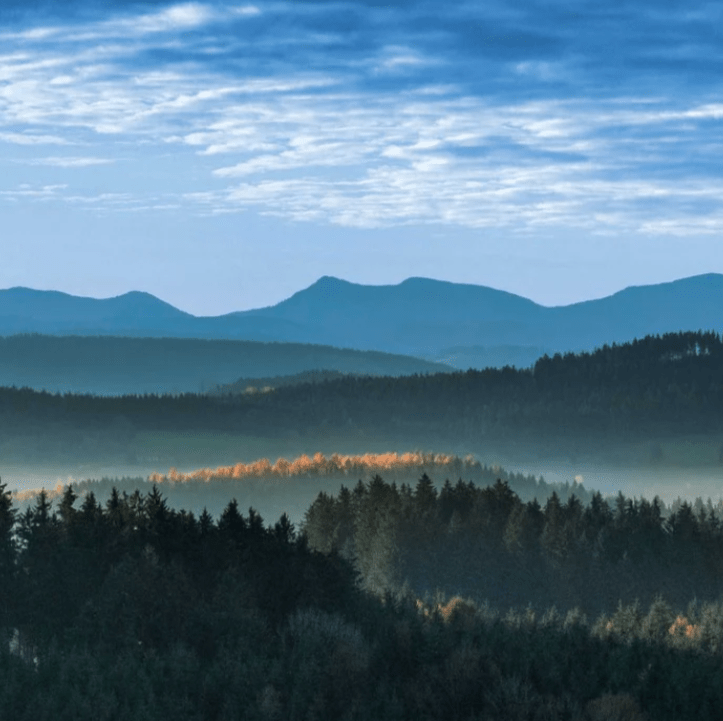
Landscapes | DesignScapes®
Apollo DesignScapes® provides a Landscape design category of fluorescent light cover inserts...
-
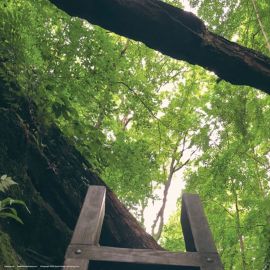
Nature | DesignScapes®
Apollo DesignScapes® fluorescent light cover inserts bring an element of nature to...
-
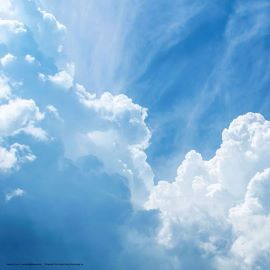
Sky | DesignScapes®
The sky is a place of dreams and inspiration. It is an...
-
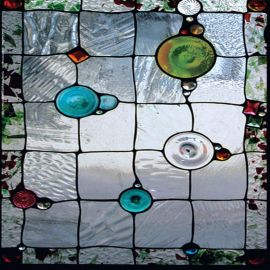
Stained Glass | DesignScapes®
From classic to modern, you'll discover an array of stained and leaded...
-
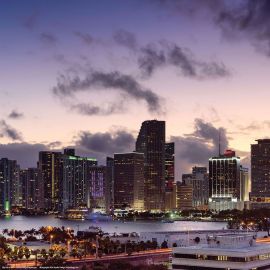
Urban | DesignScapes®
Apollo DesignScapes® provides an Urban design category of fluorescent light covers such...


